
Beginner's Guide to Photoshop Editing Techniques
- staff
- Sep 13, 2025
- 4 min read
Photoshop is a powerful tool that can transform your images from ordinary to extraordinary. Whether you are a budding photographer, a graphic designer, or just someone who loves to edit photos, mastering Photoshop can open up a world of creativity. In this guide, we will explore essential editing techniques that every beginner should know.
Let’s dive into the basics and discover how to make your images shine.
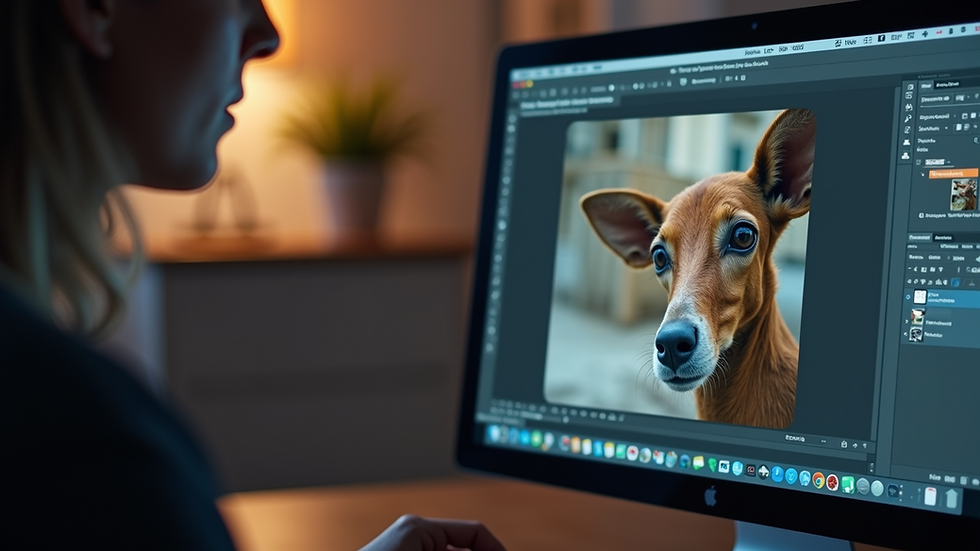
Understanding the Interface
Before you start editing, it is crucial to familiarize yourself with the Photoshop interface.
Menu Bar: This is where you find all the tools and options you need. It is located at the top of the screen.
Toolbox: On the left side, you will see the toolbox. This contains all the tools you will use for editing, such as the brush, eraser, and selection tools.
Layers Panel: On the right side, the layers panel allows you to manage different elements of your image. Layers are essential for non-destructive editing.
Workspace: You can customize your workspace to suit your needs. This helps you access your favorite tools quickly.
Getting comfortable with the interface will make your editing process smoother and more enjoyable.
Basic Editing Techniques
Now that you know your way around Photoshop, let’s explore some basic editing techniques.
Cropping and Resizing
Cropping is one of the simplest yet most effective ways to improve your images.
How to Crop: Select the Crop Tool from the toolbox. Click and drag to create a rectangle around the area you want to keep. Press Enter to apply the crop.
Resizing: To resize an image, go to Image > Image Size. Here, you can adjust the dimensions and resolution. Remember to maintain the aspect ratio to avoid distortion.
Cropping and resizing can help you focus on the subject and improve composition.
Adjusting Brightness and Contrast
Sometimes, images can appear dull or flat. Adjusting brightness and contrast can bring your photos to life.
Brightness: Go to Image > Adjustments > Brightness/Contrast. Move the brightness slider to lighten or darken your image.
Contrast: Increasing contrast makes the dark areas darker and the light areas lighter. This adds depth to your image.
Experiment with these settings to find the perfect balance for your photo.
Color Correction
Color correction is essential for achieving accurate and vibrant colors in your images.
Using Levels: Go to Image > Adjustments > Levels. This tool allows you to adjust the shadows, midtones, and highlights.
Using Curves: For more advanced color correction, use the Curves tool (Image > Adjustments > Curves). This gives you more control over the tonal range.
Correcting colors can make a significant difference in the overall look of your image.
Advanced Techniques
Once you are comfortable with the basics, you can explore more advanced techniques.
Layer Masks
Layer masks are a powerful feature that allows you to hide or reveal parts of a layer without deleting anything.
Creating a Layer Mask: Select a layer and click the Layer Mask icon at the bottom of the layers panel. Use a brush to paint on the mask. Black hides parts of the layer, while white reveals them.
Layer masks are great for blending images or creating complex compositions.
Using Filters
Filters can add unique effects to your images.
Applying Filters: Go to Filter in the menu bar. You can choose from a variety of filters, such as Blur, Sharpen, and Distort.
Smart Filters: If you want to apply filters non-destructively, convert your layer to a Smart Object (right-click the layer and select Convert to Smart Object). This allows you to adjust or remove the filter later.
Filters can enhance your images and give them a creative touch.
Text and Typography
Adding text to your images can help convey a message or enhance your design.
Adding Text: Select the Type Tool from the toolbox. Click on your image and start typing. You can change the font, size, and color in the options bar.
Text Effects: You can apply layer styles to your text, such as drop shadows or strokes, to make it stand out.
Text can be a powerful element in your designs, so experiment with different styles.
Saving and Exporting Your Work
After editing, it is essential to save and export your work correctly.
Saving Your Project: Save your project as a PSD file (File > Save As) to keep all layers and edits intact. This allows you to return to your work later.
Exporting for Web: To share your images online, export them as JPEG or PNG files (File > Export > Export As). Adjust the quality settings to balance file size and image quality.
Proper saving and exporting ensure your work is preserved and ready for sharing.
Tips for Effective Editing
Here are some additional tips to enhance your editing skills:
Practice Regularly: The more you use Photoshop, the more comfortable you will become. Try different techniques and experiment with your images.
Use Tutorials: There are countless online tutorials available. These can help you learn new techniques and improve your skills.
Join a Community: Engaging with other Photoshop users can provide inspiration and feedback. Consider joining forums or social media groups.
Stay Updated: Photoshop is constantly evolving. Keep an eye on updates and new features to stay ahead.
By following these tips, you can develop your editing skills and create stunning images.
Final Thoughts
Photoshop is a versatile tool that can elevate your photography and design projects. By mastering the basic and advanced techniques outlined in this guide, you will be well on your way to creating beautiful images.
Remember, practice makes perfect. Don’t be afraid to experiment and find your unique style. With time and dedication, you will become a confident Photoshop editor.
Happy editing!


Comments