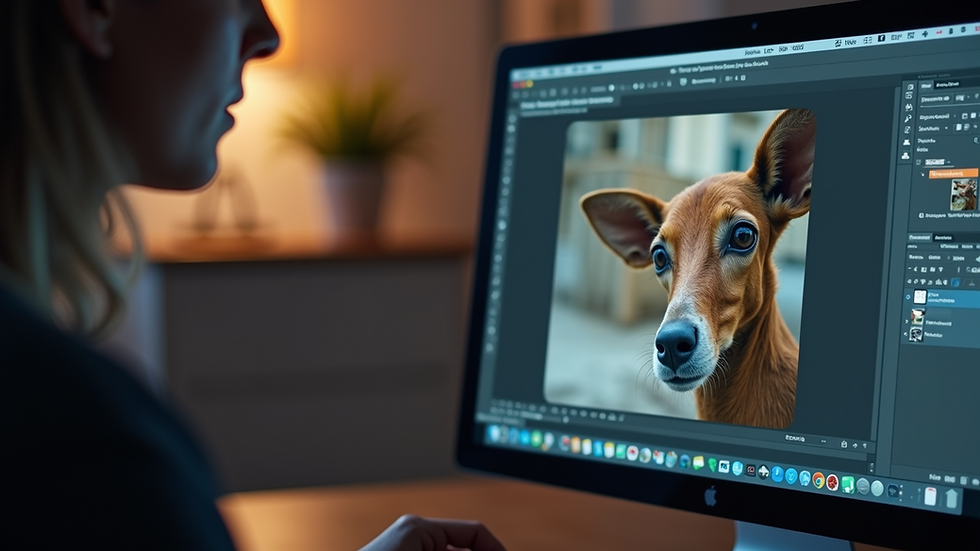
How To Remove Background In Photoshop
- staff
- Sep 17, 2025
- 2 min read
Removing backgrounds from pictures in Photoshop is simple and satisfying! So in this quick article I will share with You, the quickest ways to remove the background from images in Photoshop!
Understanding the Basics
Before jumping into the process, it's vital to know the tools Photoshop offers for How To Remove Background In Photoshopbackground removal. The main tools you will rely on include the: Magic Eraser Tool or the Quick Selection Tool. Each tool has its unique advantages based on the image type.
Magic Eraser Tool: This tool excels at deleting large areas of solid color. For instance, if you're working with a product image on a white background, this tool can save you considerable time. As it's a 1-click solution!
Quick Selection Tool: Ideal for more detailed images, this tool helps select subjects with complex edges quickly. For example, it works well with images of pets against varied backgrounds.
Before You Start Make sure your toolbar is enabled in Photoshop
To enable the toolbar, head to -> Window -> On the bottom there should be -> "Tools" click it and it should open up a toolbar on the left hand side of your screen!
Using The Magic Eraser Tool

To use the Magic Eraser Tool, first load the image that you want to remove background from
Look for the 'Magic Eraser Tool' it will be under the icon of a rubber
Right click the rubber icon and select 'Magic Eraser Tool'
Make sure that the layers are enabled, with the tool click on the background that you want to remove
If you have done everything correctly, the tool should remove the background perfectly!
Using the Quick Selection Tool
Here’s how to use the Quick Selection Tool effectively:
Open Your Image: Start by opening your image in Photoshop.
Select the Quick Selection Tool: This can be found in the toolbar on the left side of the screen.
Make Your Selection: Click and drag the tool over the area you want to keep. The tool automatically senses edges, helping you select the subject effortlessly.
Refine Your Selection: After your initial selection, refine it by holding down the Alt key (or the Option key on a Mac) to deselect any incorrectly included areas.
Create a Mask: With your selection active, click the “Add Layer Mask” button at the bottom of the Layers panel. This action will hide the background, showing only your selected subject.
Adding the Perfect Finishing Touches
Once the background is removed, consider enhancing your image further. Use the Brush Tool on the mask to refine edges, ensuring they look natural. Utilizing a feather effect can also help soften the transition between your subject and the new background.
You might also think about adding a new background or adjusting colors to make your image pop even more. For instance, placing your subject against a contrasting background can make it stand out, potentially increasing engagement levels by up to 30% if used for marketing.


Comments